Olivie salad is a traditional Russian dish that can remind you of a mix of potato, egg, and chicken salads. It is very easy to prepare and makes for a great lunch idea or a side dish for dinner.
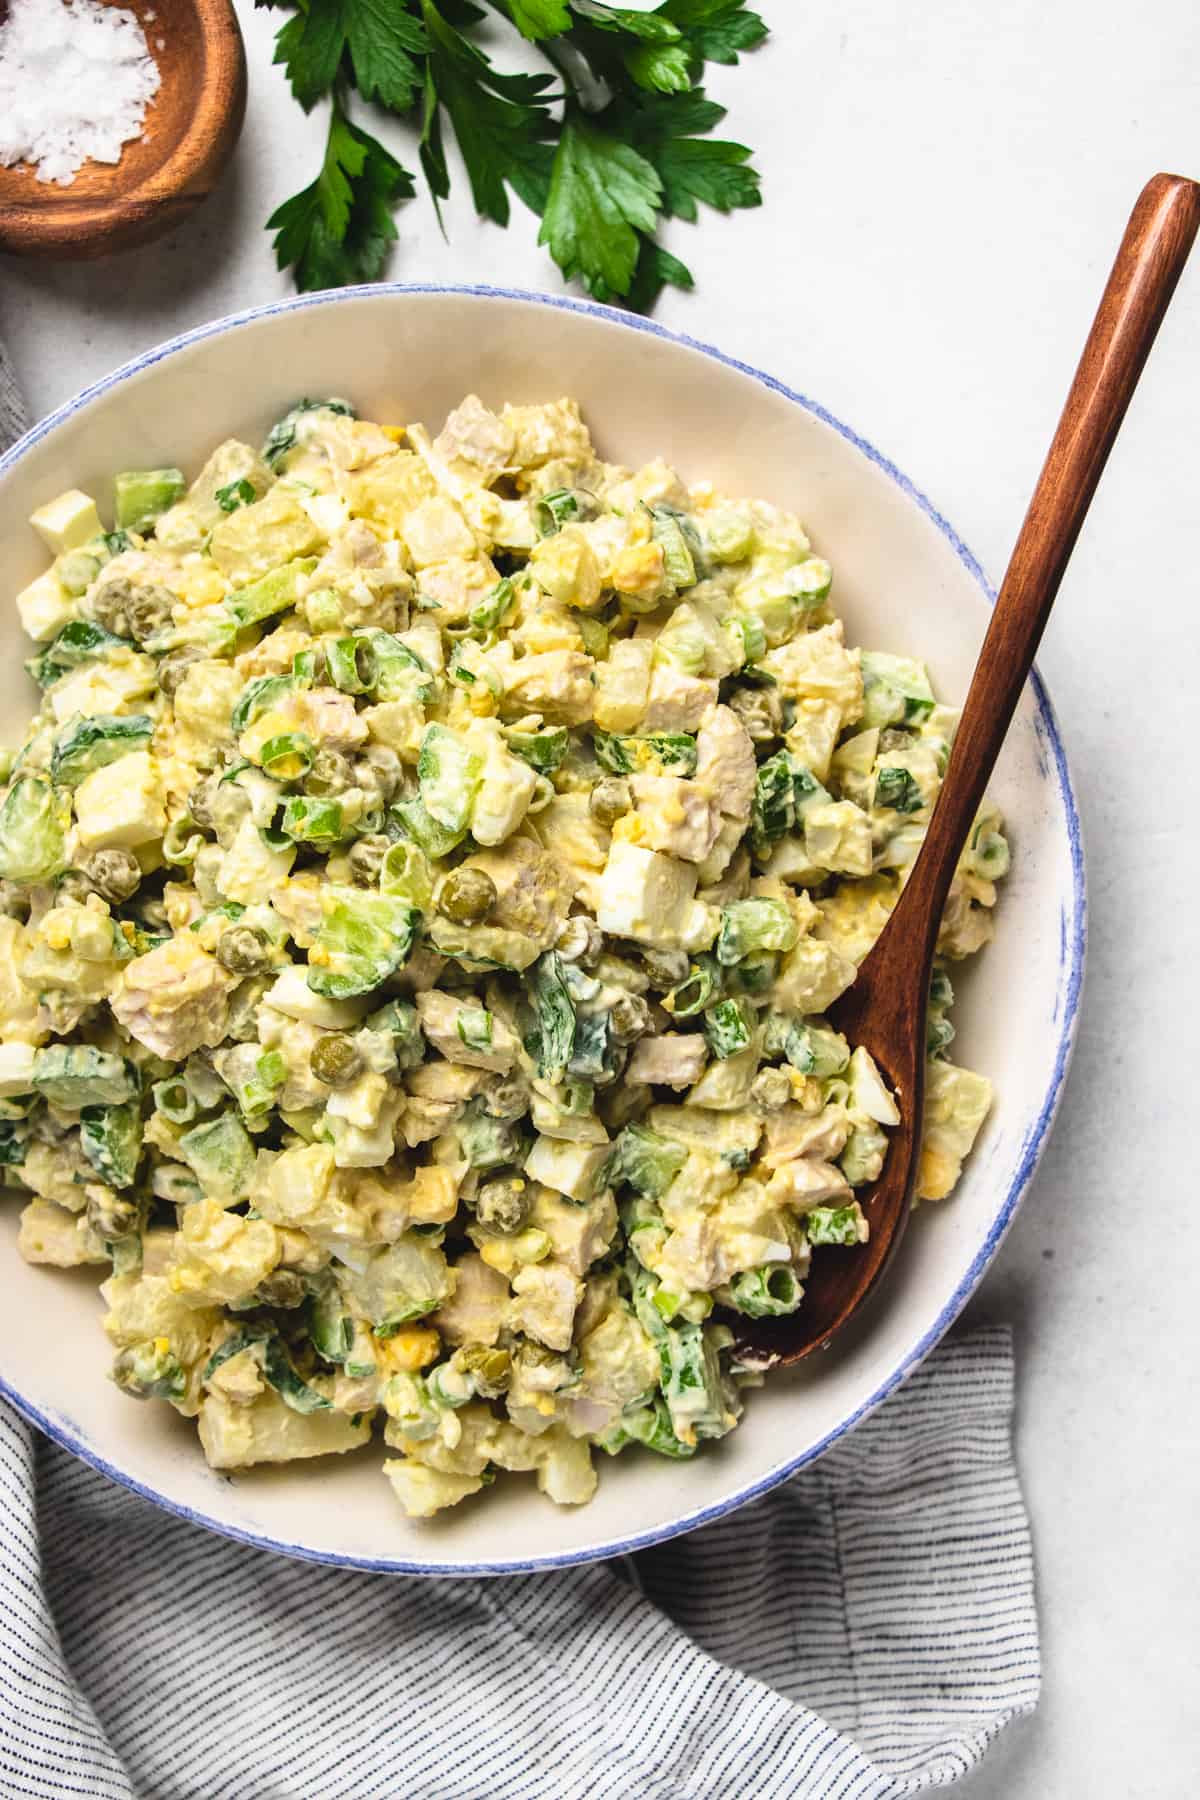
Today, I want to share with you a dish that is close to my heritage and reminds me of my childhood. Every birthday and New Year my family would make a huge bowl of Olivie salad which I would promptly eat within a few hours. As the biggest fan of this Russian salad, I have to share my version of this delicious and filling dish with all of you.
If you like to try more Russian cuisine, you will love Pelmeni Recipe and Beef Borscht Recipe.
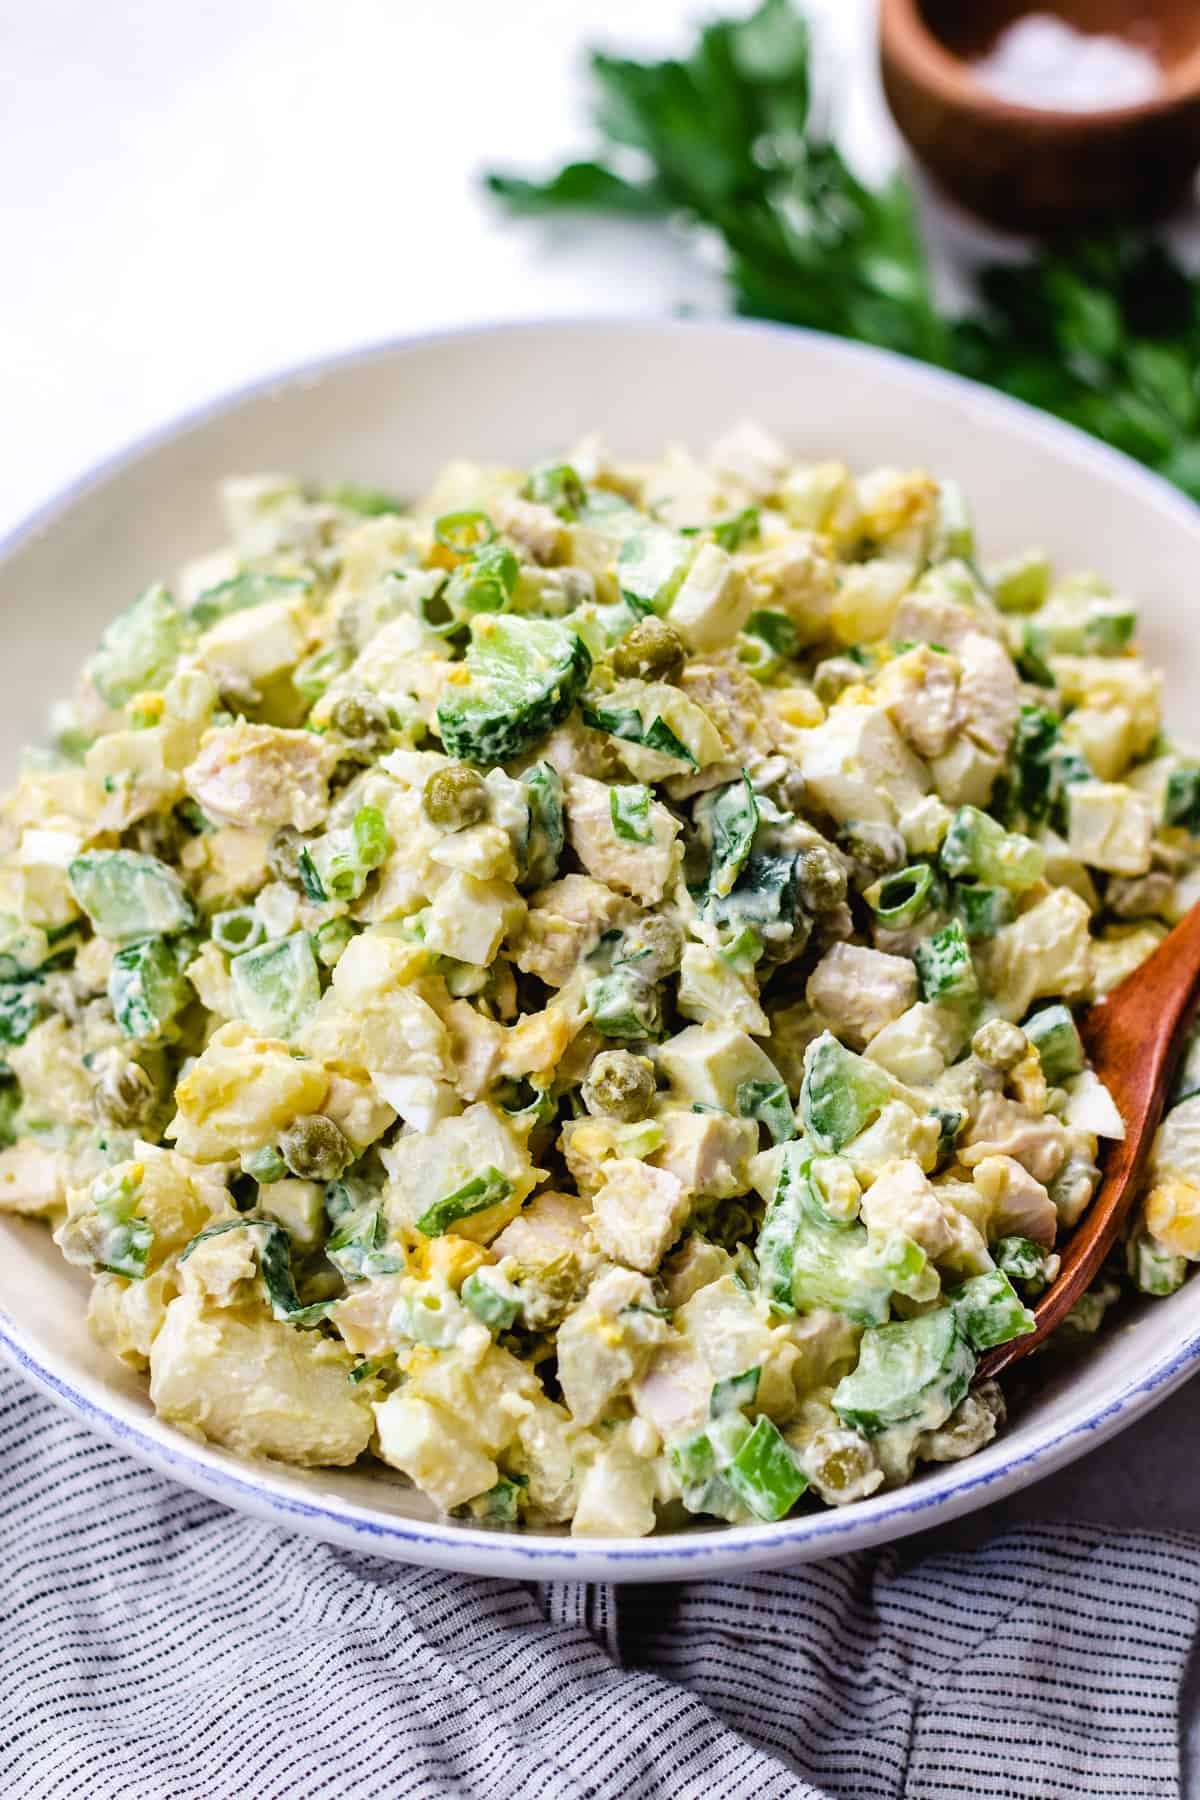
What is Olivie?
Olivie salad is a traditional dish in Russian and Eastern European cuisine. Despite this salad being known as a classic Russian salad, it was created by a Belgian cook, Lucien Olivier, the chef of Hermitage; which was one of the most popular Moscow restaurants during the 1860s. When he created the dish, it became so acclaimed among visitors that it became the restaurant’s signature dish. This original Olivie salad was quite different from the modern versions. It contained veal tongue, caviar, capers, lettuce, smoked duck, and was dressed with a French version of mayonnaise made with wine vinegar, mustard, and olive oil. However, the exact recipe and proportions for the salad and the dressing remain unknown.
Today, if you visit different families in Russia and try their versions of this salad, they will all taste different and will include different ingredients. Quite often, Olivie includes ham or kielbasa, carrots, and pickles.
How to make it
Cook Chicken
Place skinless boneless chicken breasts in a pot of water and bring it to boil. When it starts boiling, reduce the heat to medium/high and cook the meat until tender (depending on the chicken size, it will take between 30-40 minutes).
Cook Potatoes
While the meat is cooking, wash the potatoes and put them in a large pot. Cover with water and bring to boil. Then reduce the heat and cook until cooked through. You can check it by piercing the potatoes with a fork or a knife.
Cook Eggs
You can cook the eggs in a pressure cooker (using my recipe for Instant Pot Hard Boiled Eggs) or on the stove. If cooking on the stove, bring the water to boil in a large saucepan. Carefully add the eggs and cook for 8 minutes. When ready, put them in an ice water bath or rinse under cold water for a minute to cool off.
Assemble
After all the cooked ingredients are cooled off, we can start assembling the salad.
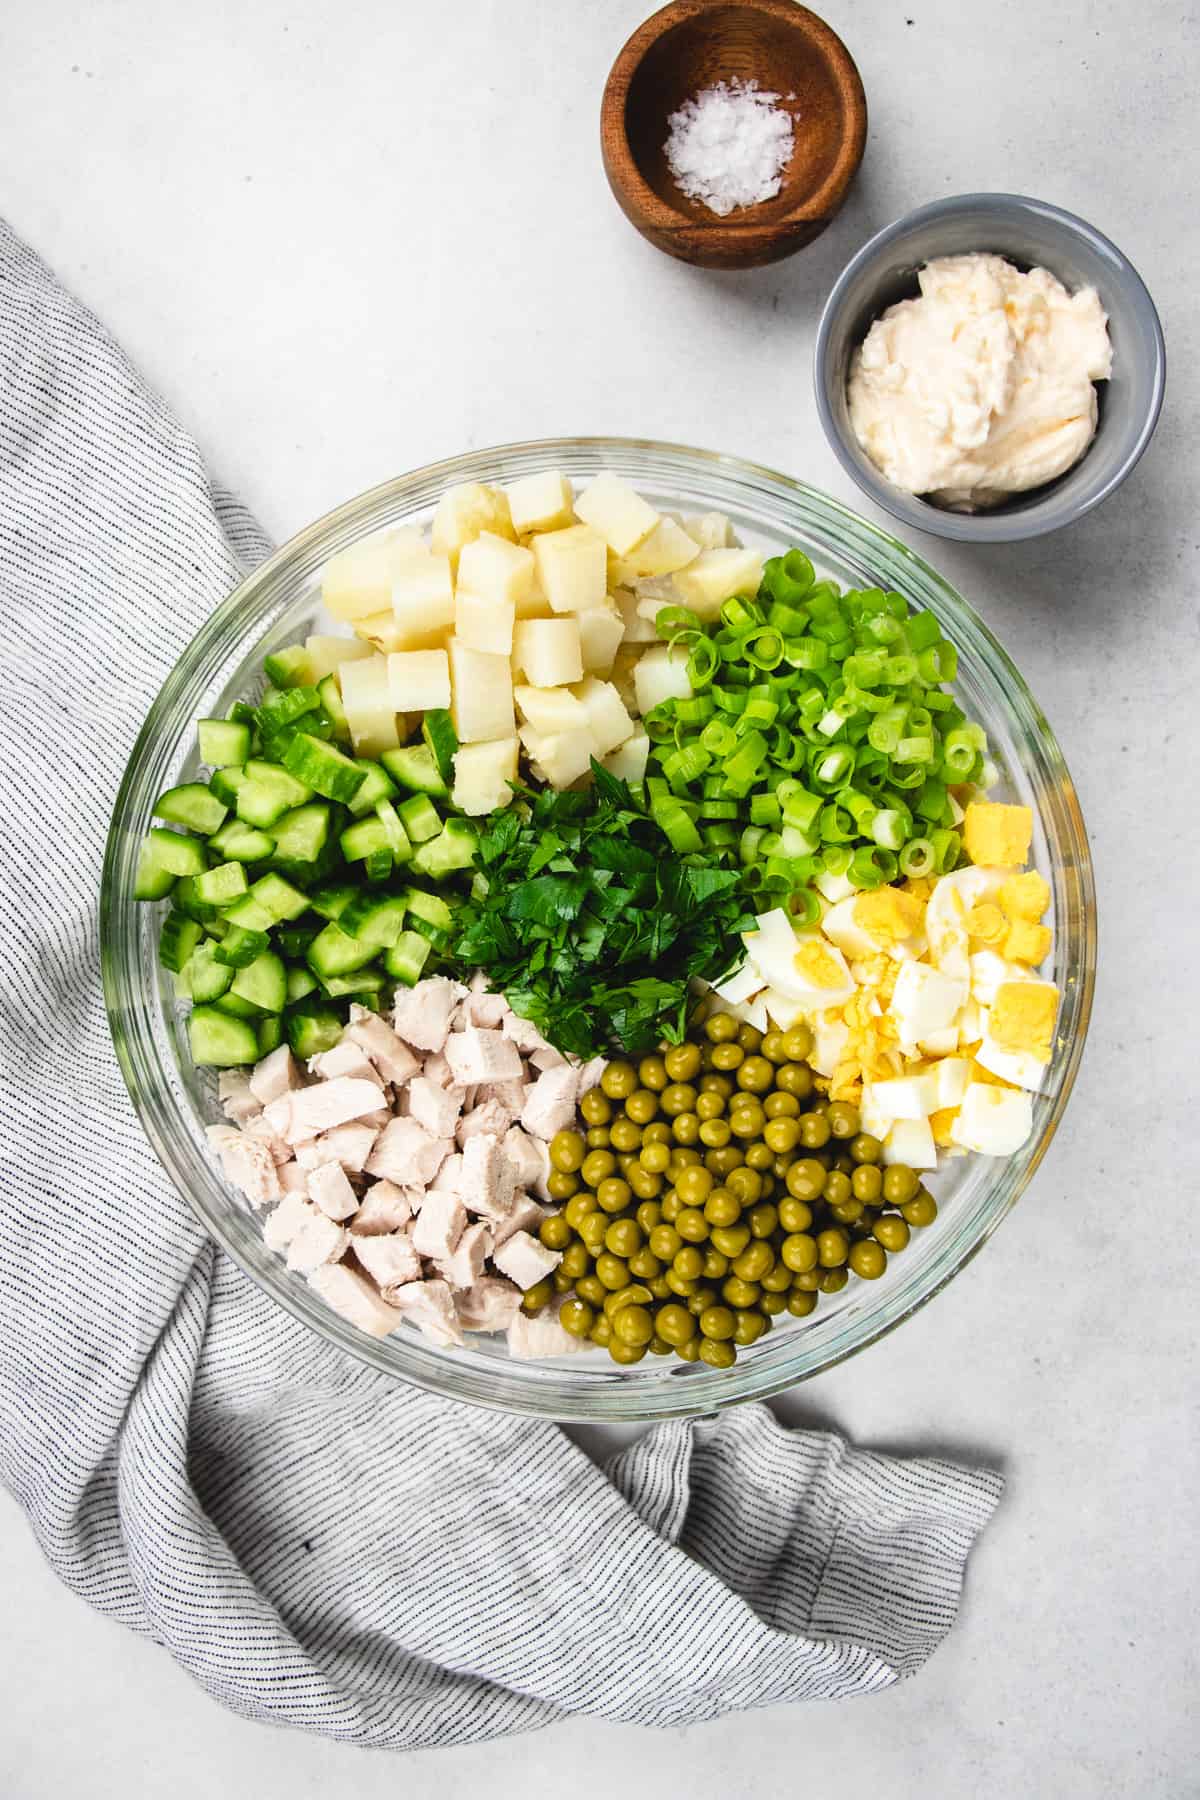
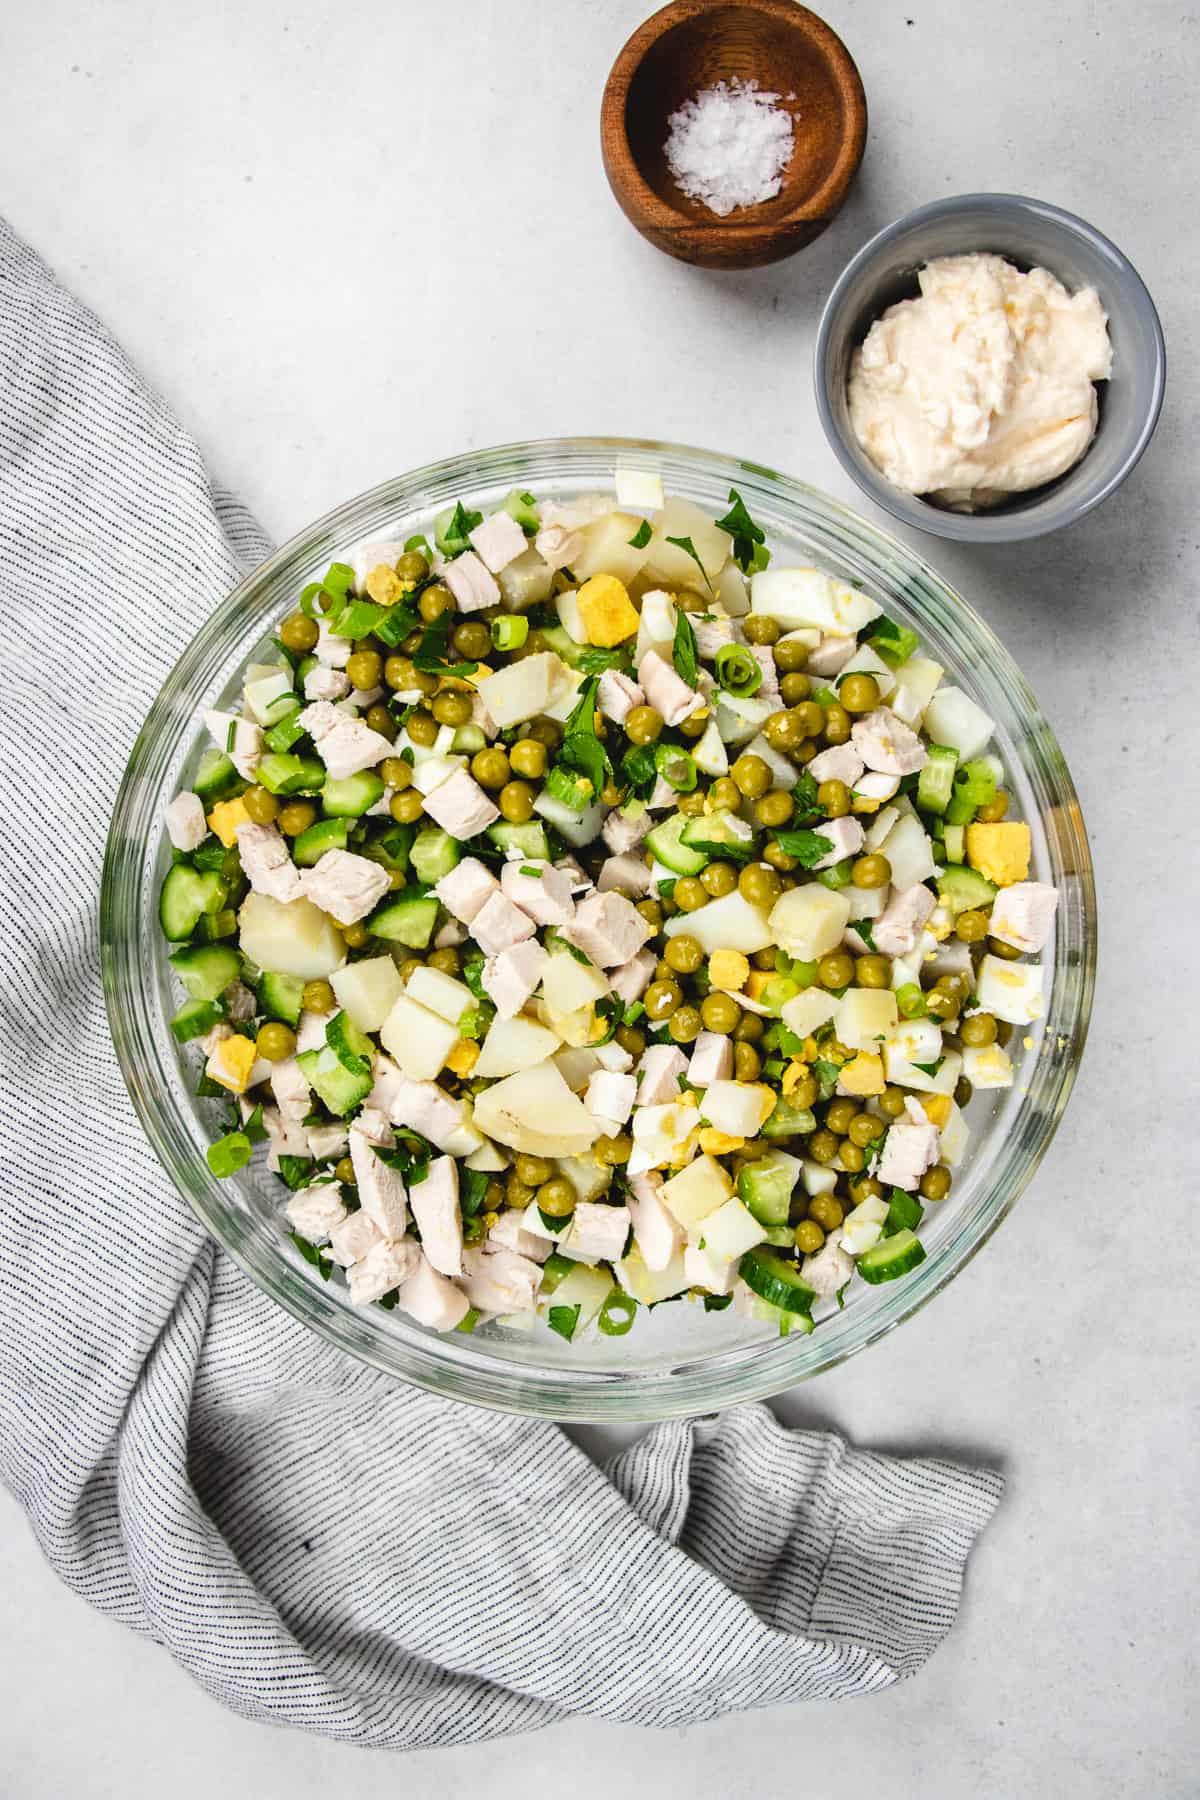
Chop the chicken meat, potatoes, and eggs into ½-inch cubes and put in a large mixing bowl.
Dice small cucumbers and add them to the bowl.
Add sweet peas (drained from the liquid), chopped green onion and parsley. Mix everything.
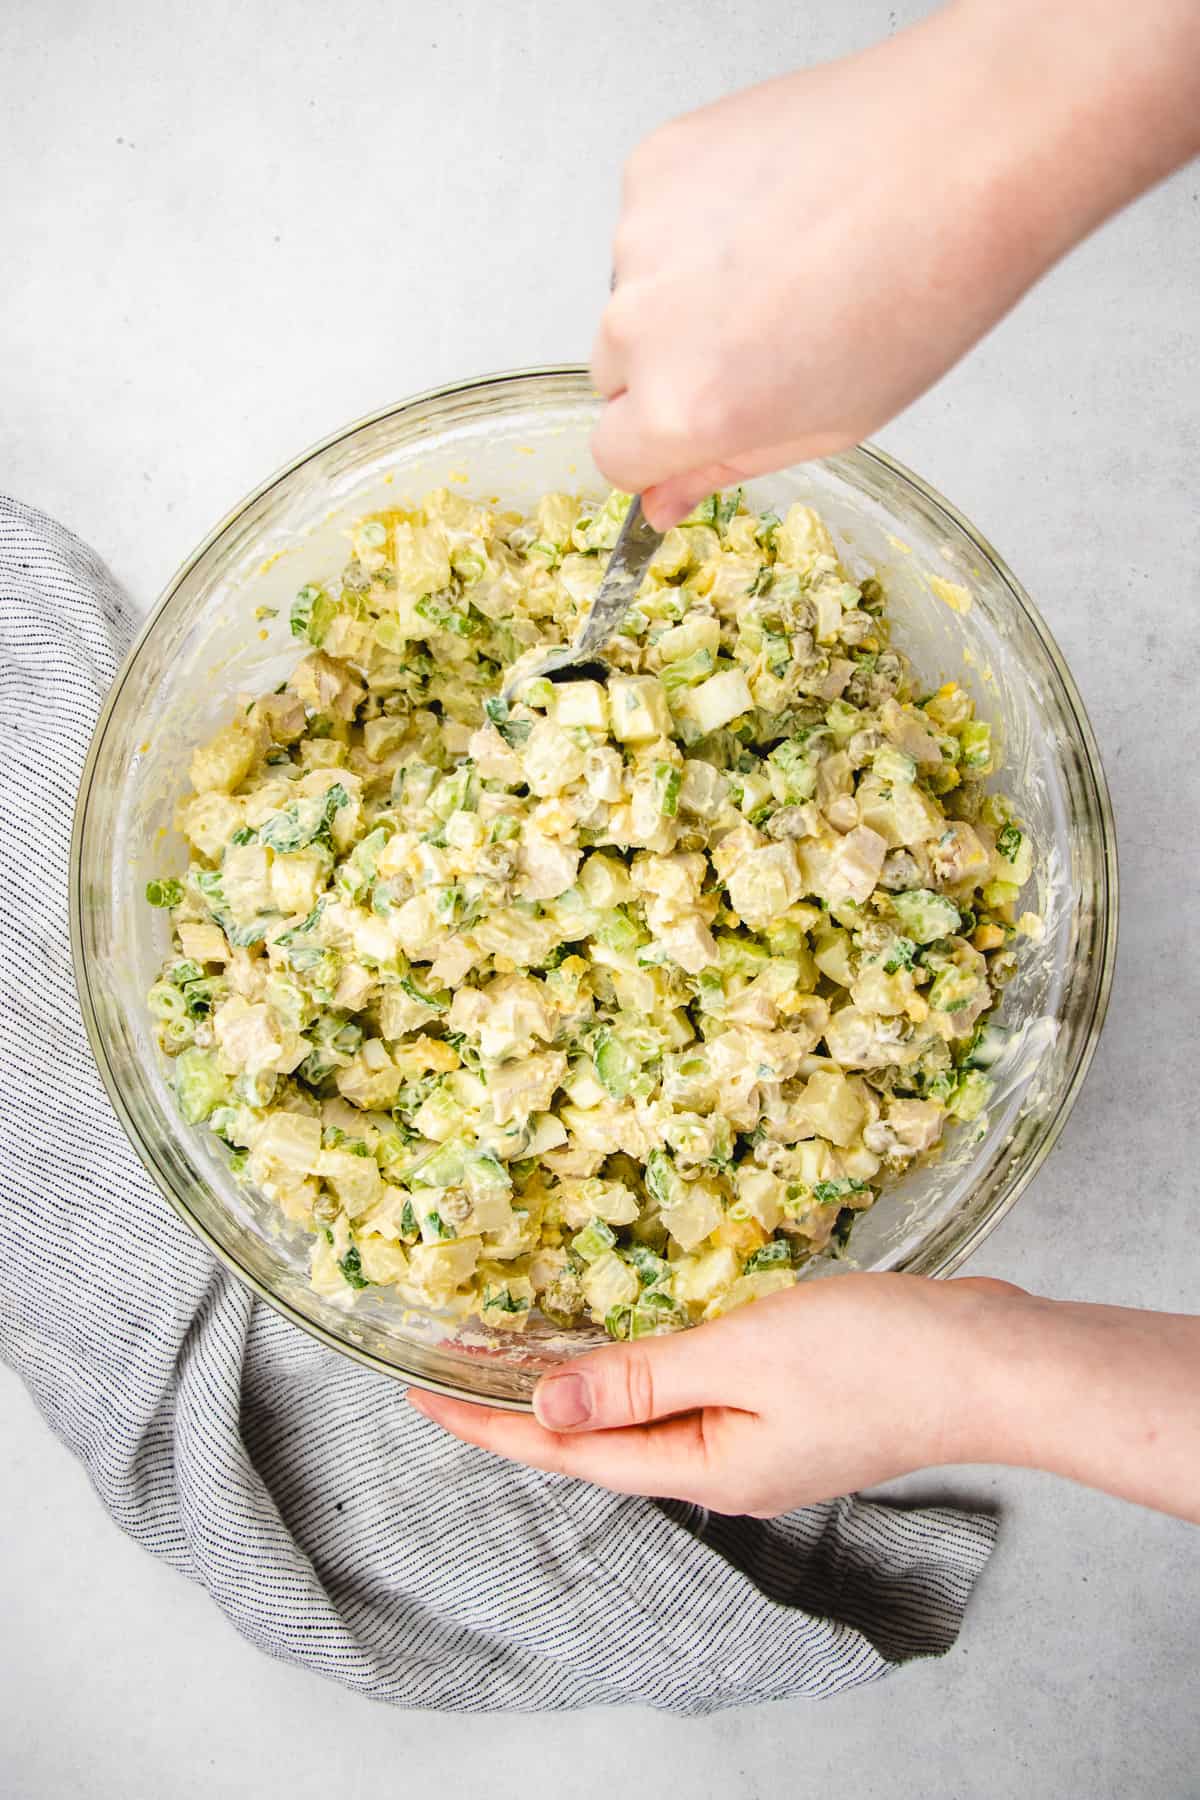
Add salt and mayo, and mix again until well combined.
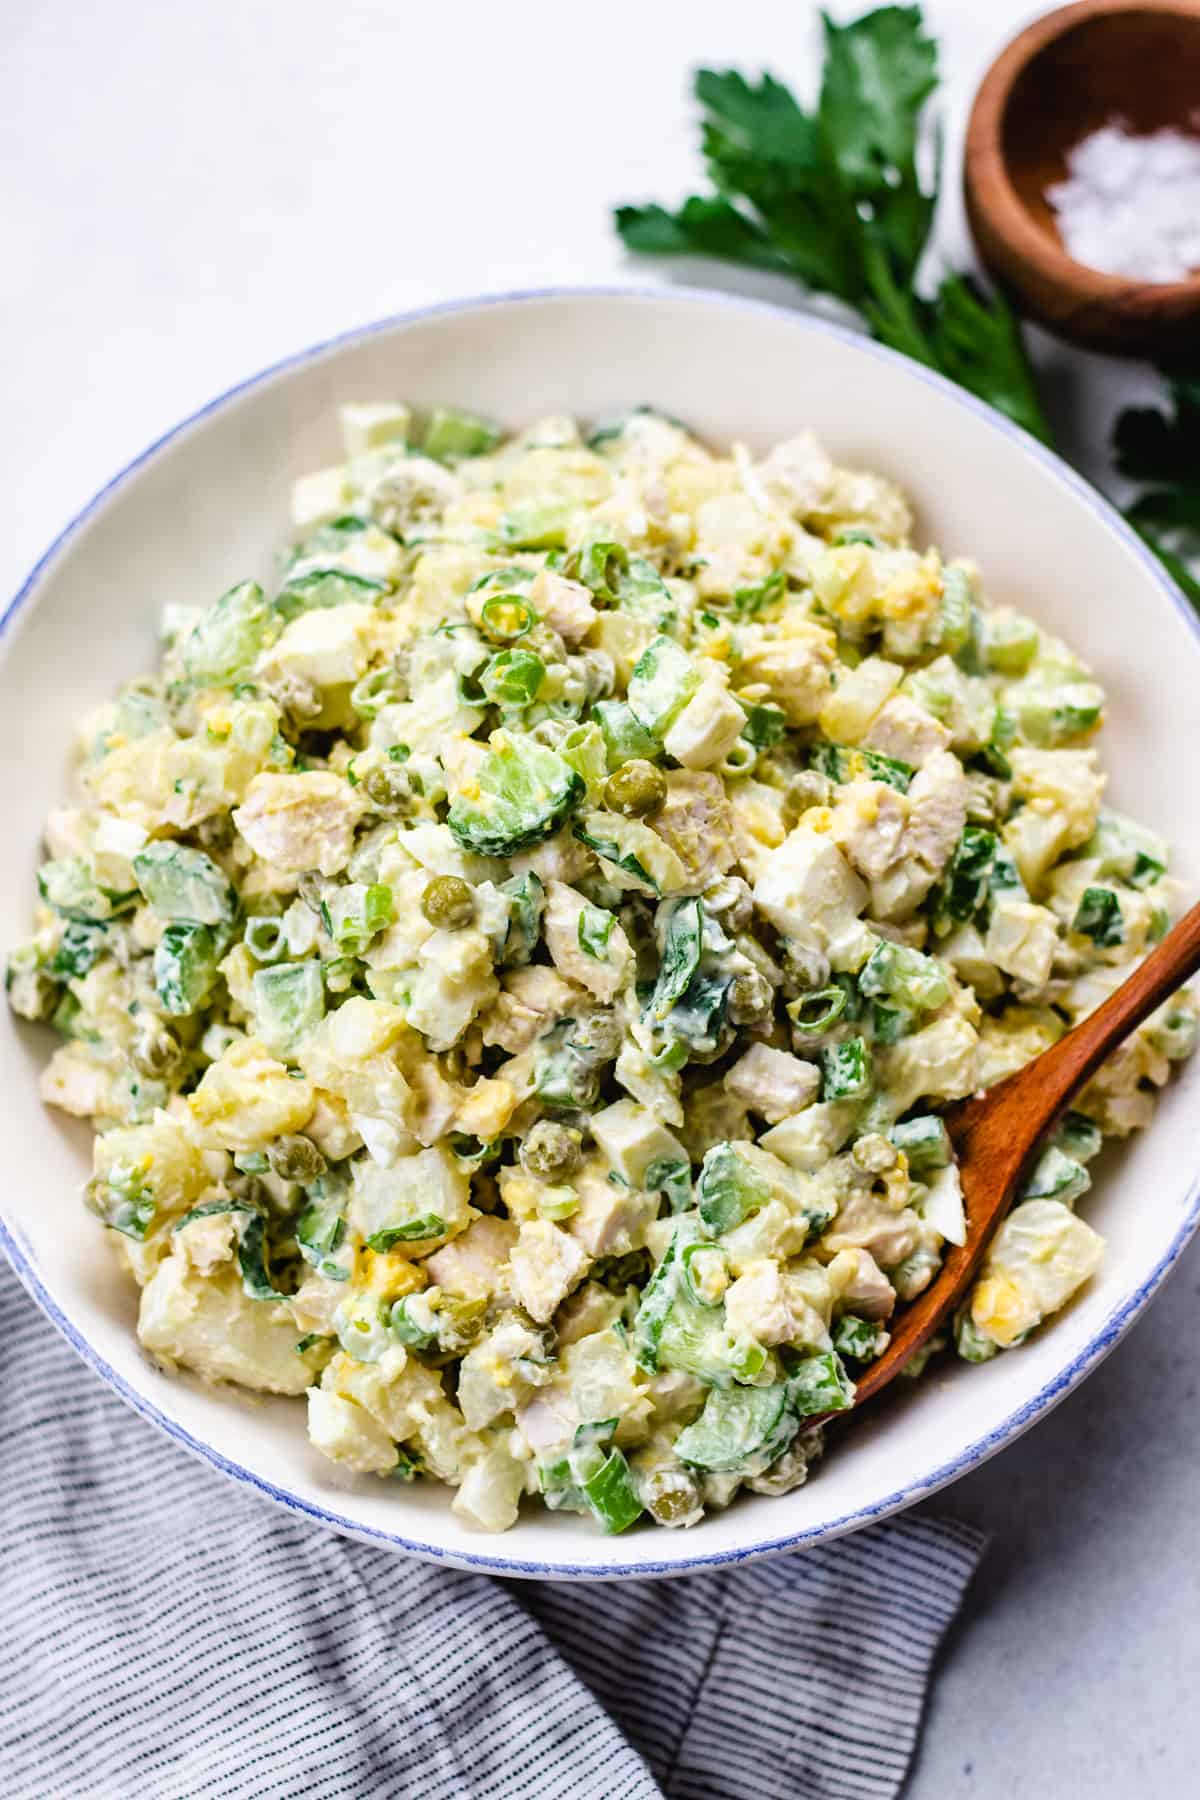
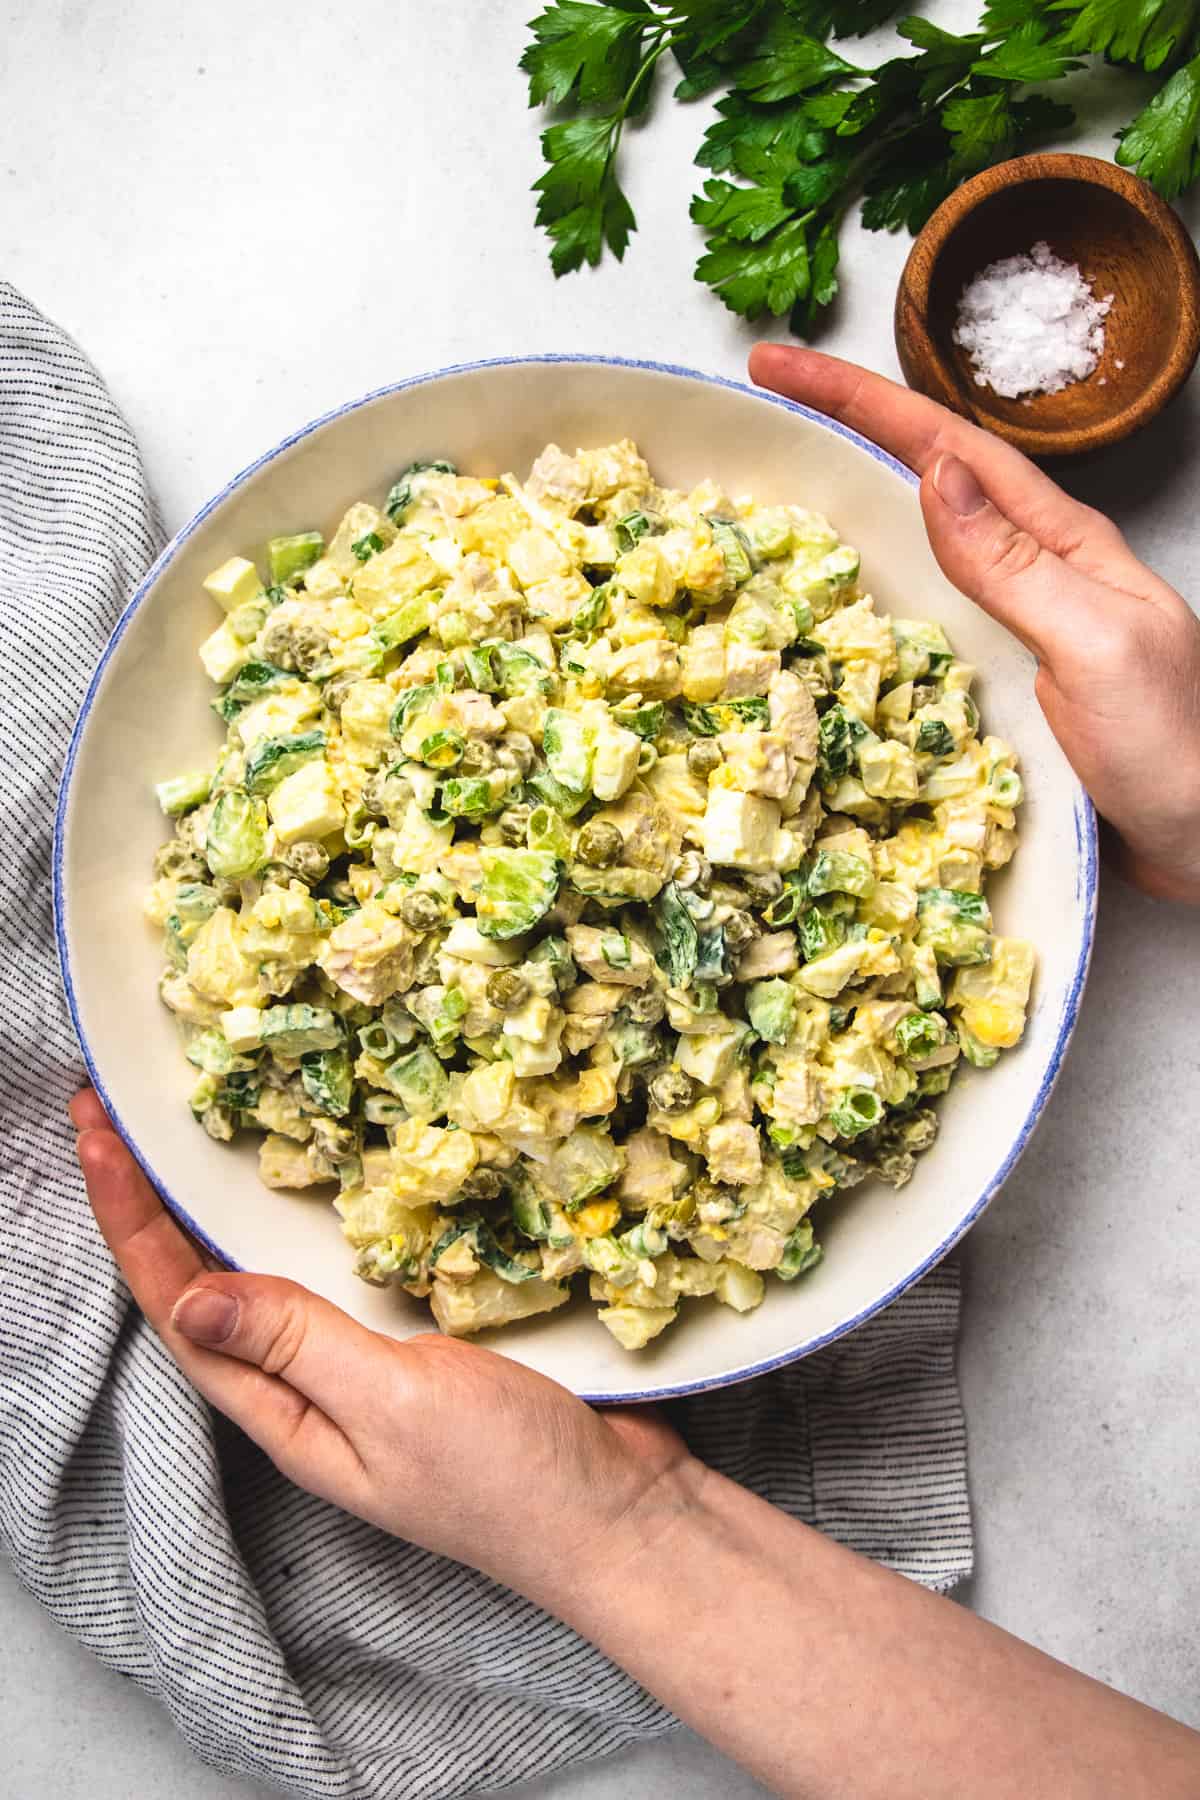
Transfer the salad to the serving bowl, cover, and refrigerate until ready to serve.
Tips for best results
- I prefer to cook chicken, potatoes, and eggs and day before and refrigerate. When they are cold, it’s much easier to chop them into even pieces. Also this helps the potatoes not to get mushy and fall apart.
- Use small cucumbers in this recipe. They have more flavor than a larger variety and are much more tender.
- Russet potatoes will work the best in this salad. Yukon Gold and red potatoes will be too soft and won’t keep their shape when mixed with other ingredients.
- I love to make this salad one day before serving and keep in the fridge overnight, so the ingredients have enough time to absorb the mayo, binding all the flavors together.
Frequently Asked Questions
It will stay fresh in the fridge for up to 3-4 days. Although, I bet you it will be gone way before that!
Did you make this recipe?!? I’d love to know how it turned out! leave a comment and a rating below👇 thank you!
Olivie (Russian Potato Salad)
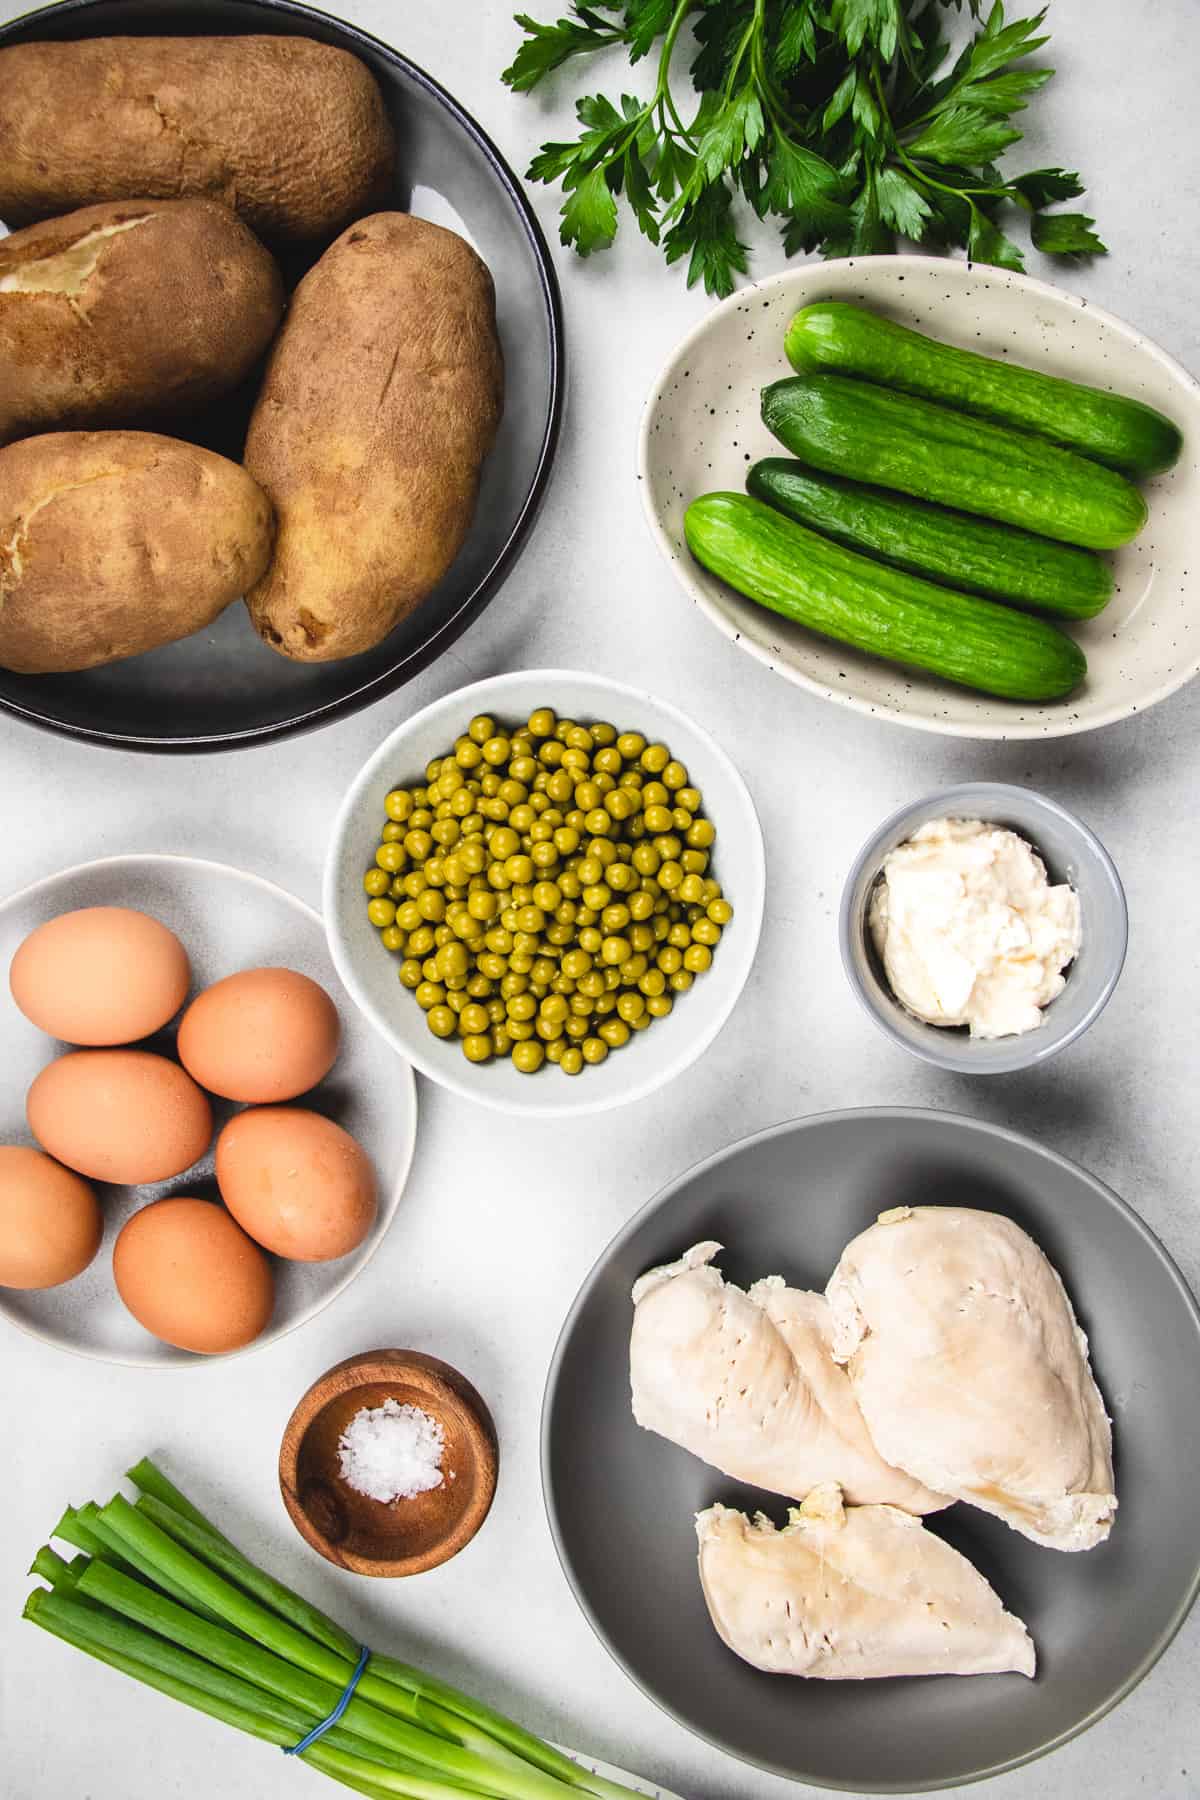
Ingredients
- 2 medium chicken breasts boneless and skinless
- 4 large Russet potatoes
- 6 large eggs
- 4 small cucumbers
- 15 oz sweet peas drained from liquid
- 1 cup green onion chopped
- ½ cup parsley chopped
- salt to taste
- ½ cup mayonnaise
Instructions
- Place skinless boneless chicken breasts in a pot of water and bring it to boil. When it starts boiling, reduce the heat to medium/high and cook the meat until tender (depending on the chicken size, it will take between 30-40 minutes).
- While the meat is cooking, wash the potatoes and put them in a large pot. Cover with water and bring to boil. Then reduce the heat and cook until cooked through. You can check it by piercing the potatoes with a fork or a knife.
- You can cook the eggs in a pressure cooker (using my recipe for Instant Pot Hard Boiled Eggs) or on the stove. If cooking on the stove, bring the water to boil in a large saucepan. Carefully add the eggs and cook for 8 minutes. When ready, put them in an ice water bath or rinse under cold water for a minute to cool off.
- After all the cooked ingredients are cooled off, we can start assembling the salad.
- Chop the chicken meat, potatoes, and eggs into ½-inch cubes and put in a large mixing bowl.
- Dice small cucumbers and add them to the bowl.
- Add sweet peas (drained from the liquid), chopped green onion and parsley. Mix everything.
- Add salt and mayo, and mix again until well combined.
- Transfer the salad to the serving bowl, cover, and refrigerate until ready to serve.
Notes
- I prefer to cook chicken, potatoes, and eggs and day before and refrigerate. When they are cold, it’s much easier to chop them into even pieces. Also this helps the potatoes not to get mushy and fall apart.
- Use small cucumbers in this recipe. They have more flavor than a larger variety and are much more tender.
- Russet potatoes will work the best in this salad. Yukon Gold and red potatoes will be too soft and won’t keep their shape when mixed with other ingredients.
- I love to make this salad one day before serving and keep in the fridge overnight, so the ingredients have enough time to absorb the mayo, binding all the flavors together.
Nutrition
Update Notes: This post was originally published in 2017, but was republished with new photos, step by step instructions, tips, and FAQs in November of 2020.



Leave a Reply