Make this delicious classic Apple Pie from scratch! This homemade dessert is made with buttery and flaky pie crust, flavorful apple pie filling, and topped with a lattice pattern!
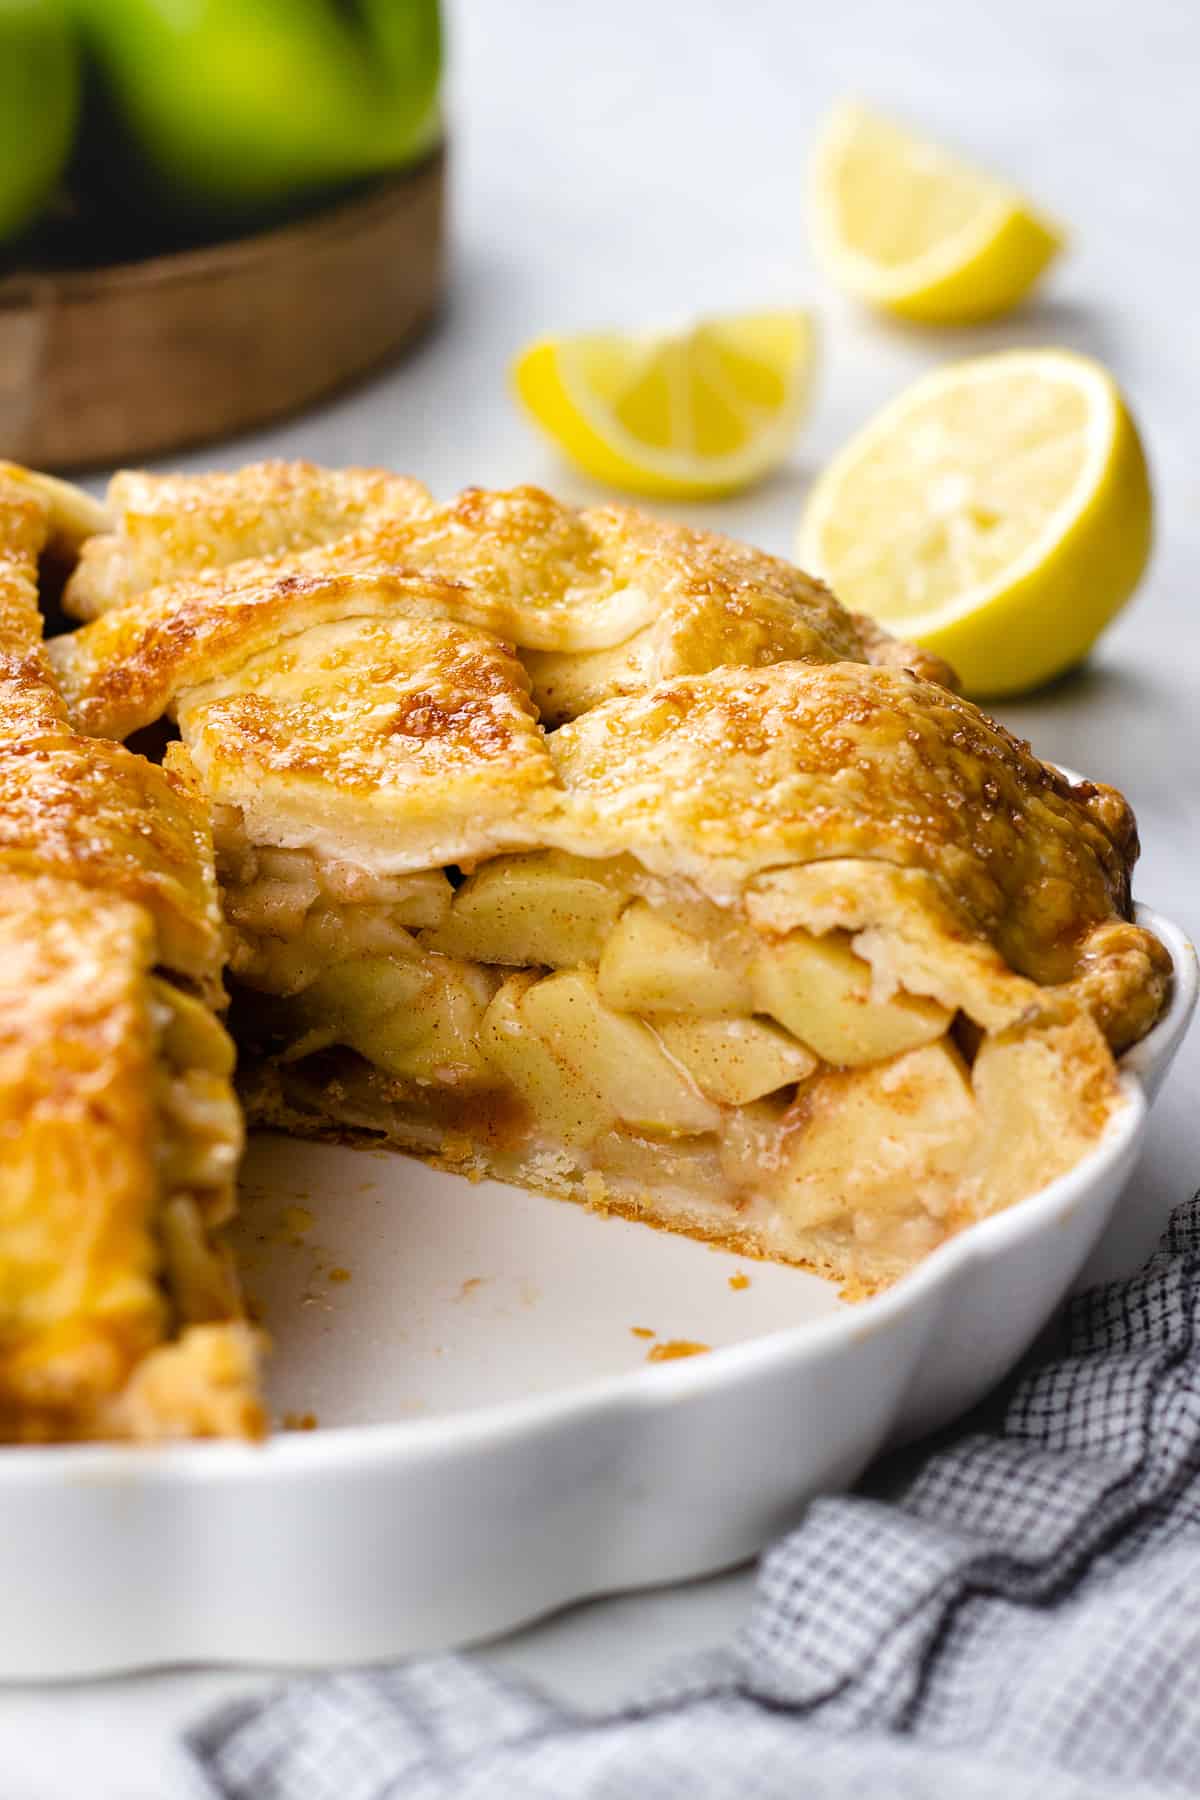
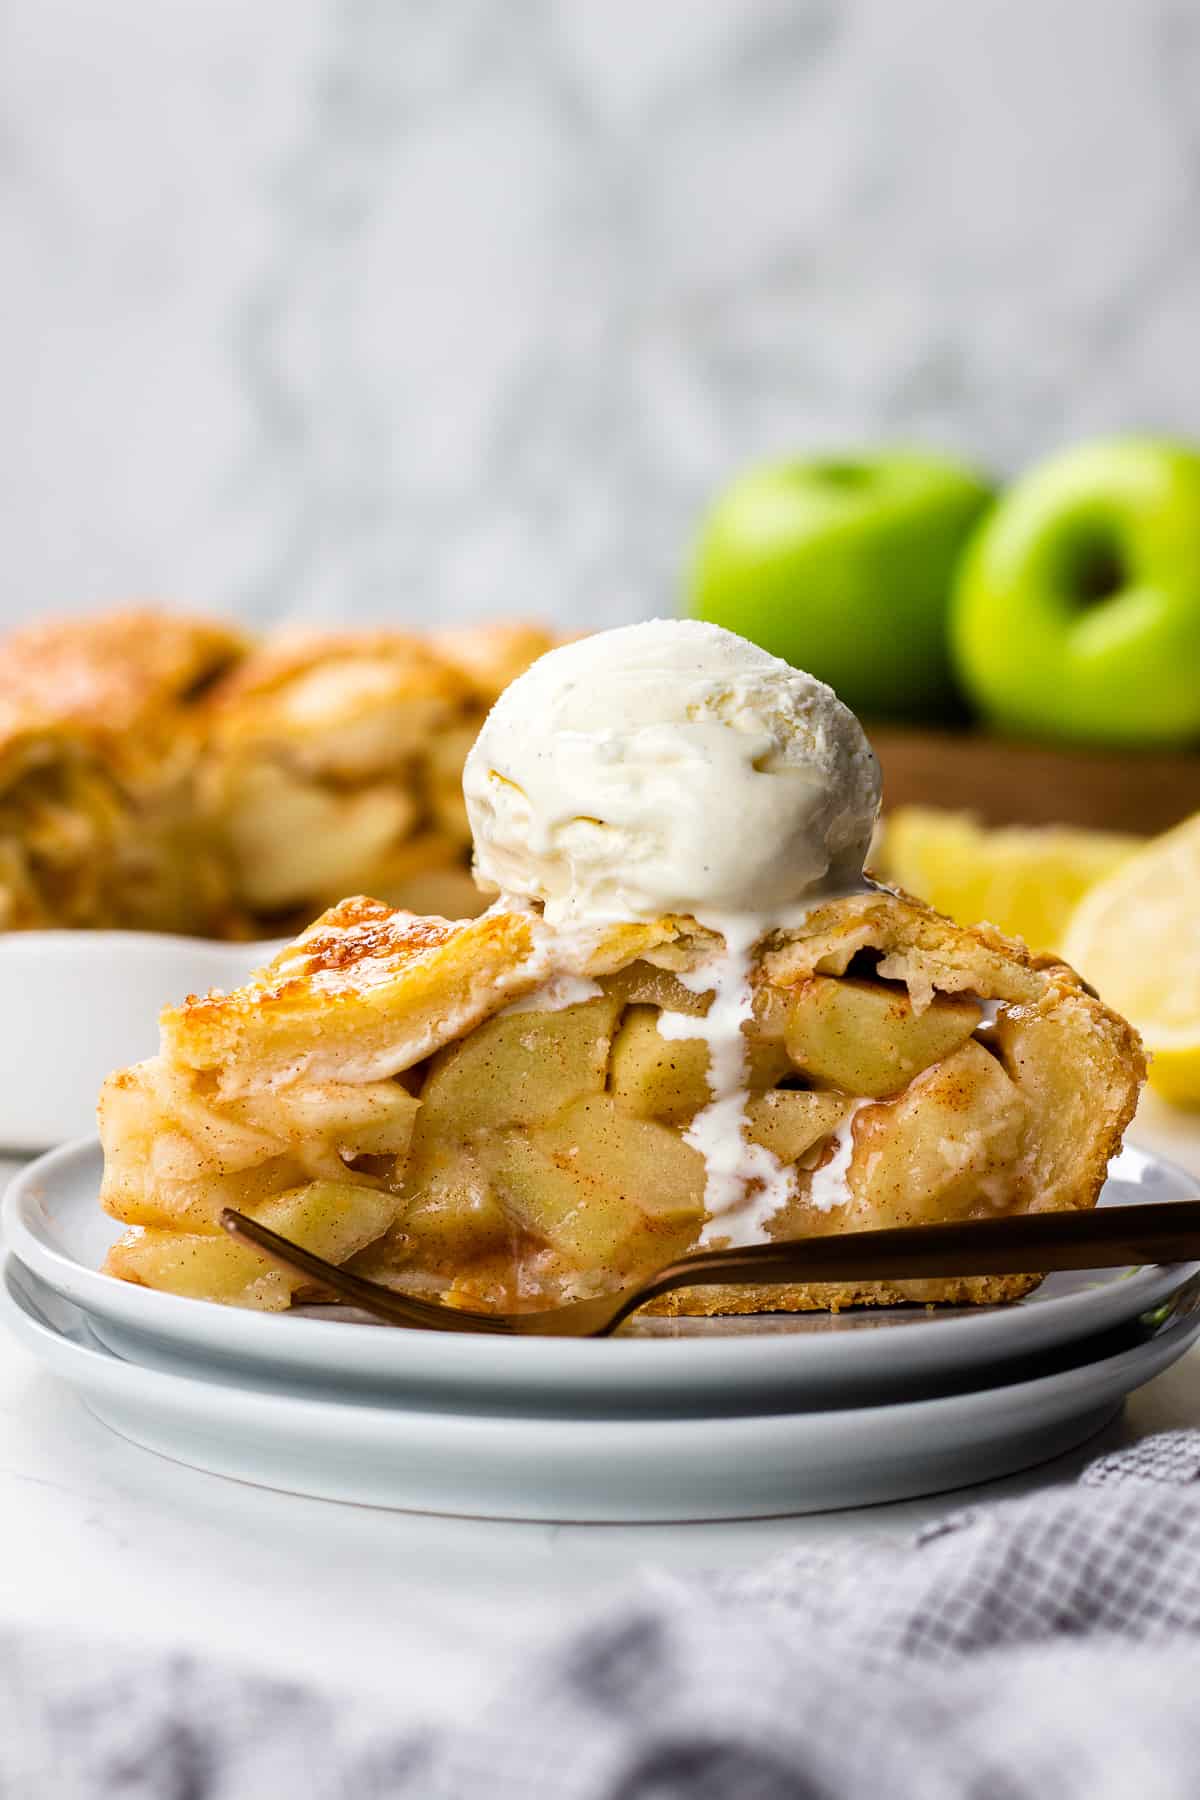
One of my all-time favorite desserts is a classic Apple Pie. It’s perfect for any season, easy to make, and always a crowd pleaser.
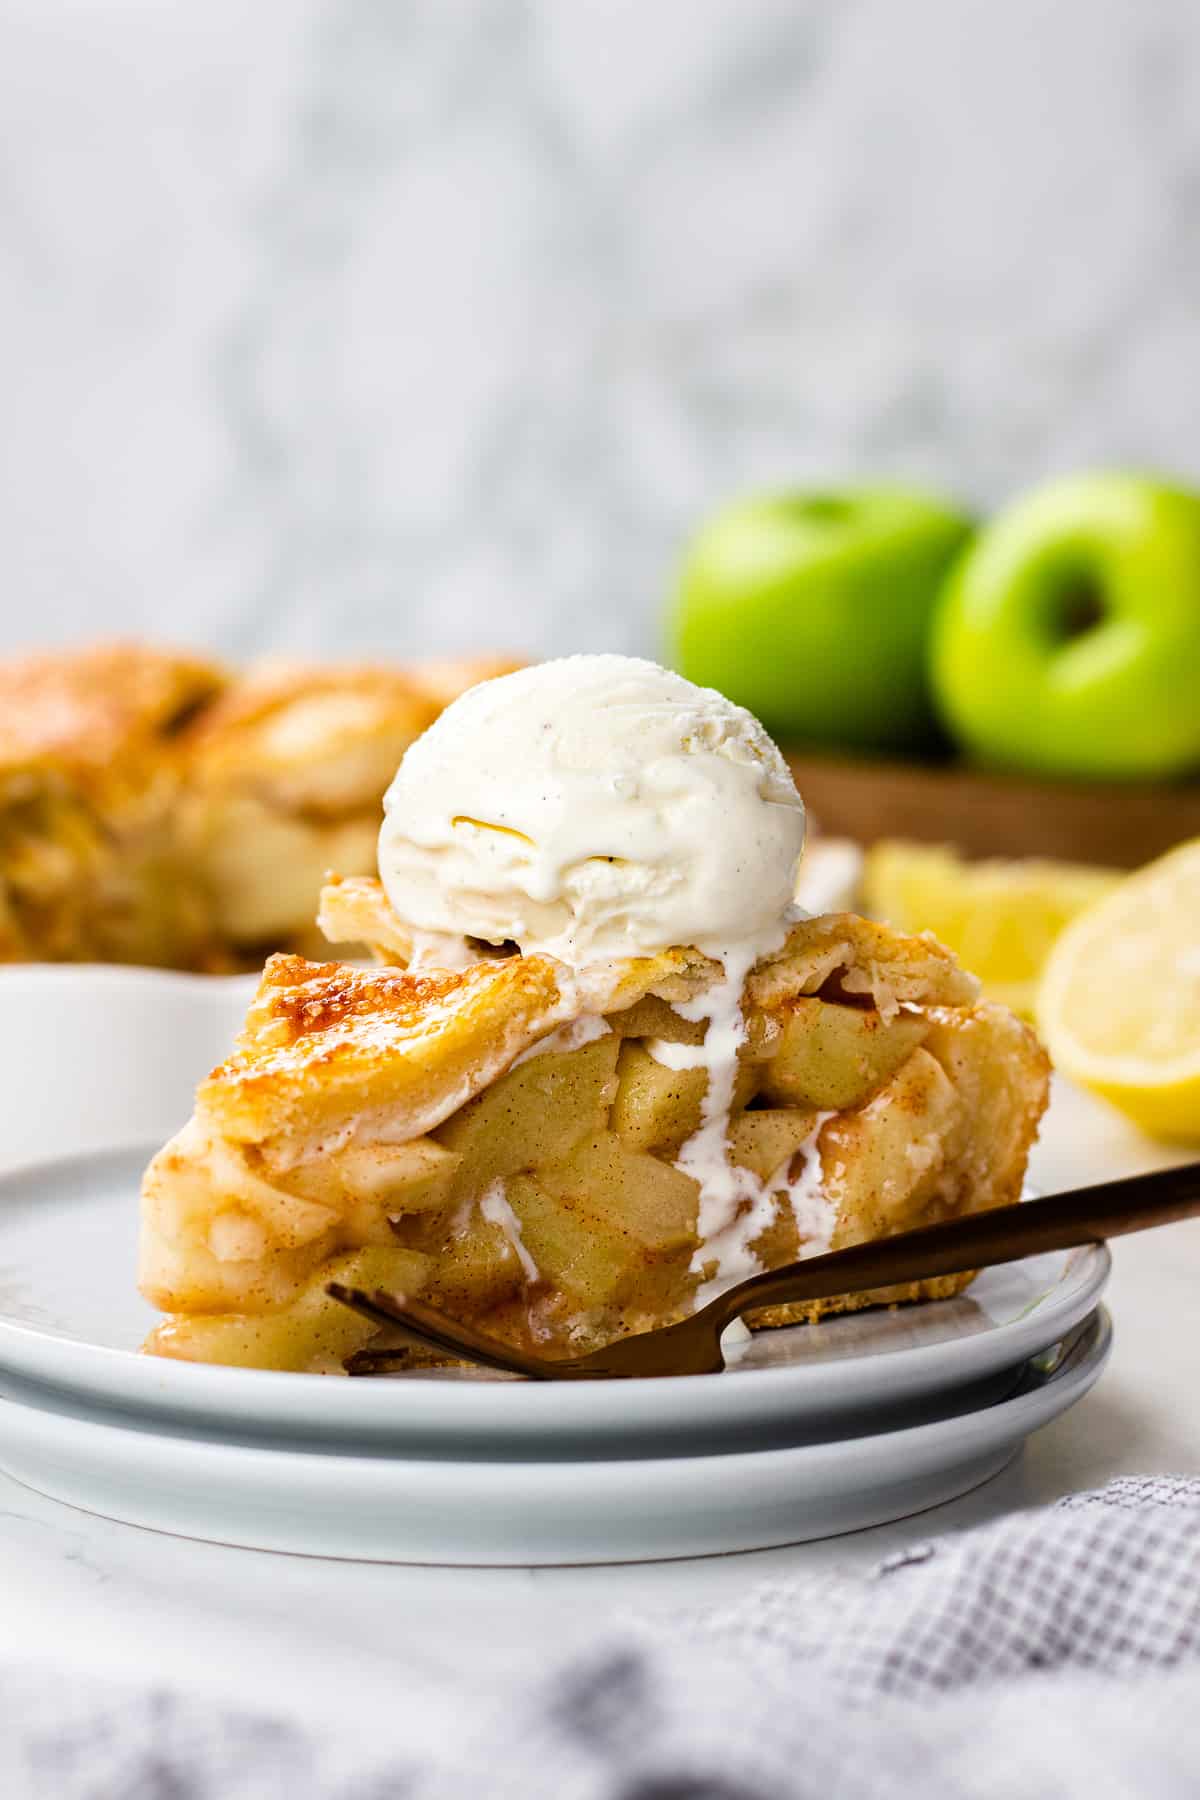
Buttery and flaky crust, caramelized apple cinnamon filling, topped with a beautiful lattice. And, of course, you have to serve it with a scoop of French Vanilla Ice Cream and Homemade Caramel Sauce!
Why you will love this recipe?
The key to the best pie is the crust. In this recipe, I use my foolproof Foolproof Pie Crust for buttery and flaky layers. I’ve been making it for years and it never failed me. So, if you’ve never made it before, please check that recipe for more tips and tricks.
In addition to the delicious crust, this dessert is packed with caramelized cinnamon apple filling. This part is really simple, just make sure the filling is bubbling before taking it out of the oven.
How to make Apple Pie
Make the dough
NOTE: There is one very important note I want to mention before starting, ALWAYS KEEP THE DOUGH AND ITS INGREDIENTS COLD!
I like to use my Food Processor to make the dough. The main reason it is better than using a pastry cutter is it literary takes no time at all to mix the ingredients, which also keeps them cold.
To make the dough, put all-purpose flour, granulated sugar, and salt in a food processor and quickly pulse it. (Photos 1-4)
Add cold and cubed vegetable shortening and pulse again until combined. It will look grainy. (photos 5-6)

Then add cold and cubed unsalted butter and pulse again until you get coarse crumbs. (photos 7-8)
You can add cold water right to the food processor and pulse. Though, I like to transfer the butter/flour mixture to a large mixing bowl and then gradually add the cold water and mix it all with a spatula. This way I can better feel the moisture and texture of the dough. (Photos 9-11)
NOTE: When you mix the cold water with the butter/flour mixture, you want the dough be a bit wet rather than too dry. It will be more elastic and easier to work with. However, you don’t want it to be too wet and sticky. If you put too much water, just add a bit more flour and mix well.
You can slightly knead the dough into a ball, divide into two equal parts, wrap into plastic wrap, and refrigerate for at least 1-2 hours. I like to refrigerate it overnight. (Photo 12)

Make Apple Pie Filling
Start working on the filling just before you are ready to bake the pie.
For the filling, I like to use Granny Smith apples because they are tarter and keep their shape better. You can also use any apples that you have on hands.
Peel and dices the apples and put them in a large mixing bowl. Add flour, granulated sugar, lemon zest and juice, ground cinnamon, allspice, nutmeg, and salt. Stir until well combined and set aside. (Photos 13-16)

Assemble
Take one part of the dough from the refrigerator about 5-10 minutes before you are ready to work with it and let it sit on the counter.
Flour the counter surface as well as the rolling pin.
Flour the dough as well and, using your hands shape it in a disc form. Roll the dough in a circle about ¼-inch thick (it should be about 12 inches in diameter). Transfer the rolled dough into a baking pan and gently press around to make sure it perfectly fits into the pan. Make sure you don’t stretch the dough! (Photos 17-18)
When done, you can trim the excess edges, leaving about 1 inch hanging over the pan.
NOTE: I like to refrigerate it for about 10 minutes before filling with the apple filling. Since we’ve been working with the dough with hands, it gets too warm.
After you refrigerate for 10 minutes, fill the dough-lined pie pan with the apple filling, evenly spread it, creating a small mountain in the middle. (Photo 19)
Refrigerate while working on the lattice.

Take the second part of the dough and roll it out the same you did it with the first part.
Using a pizza cutter or a regular knife, cut strips about 2-inches wide. (Photo 20)
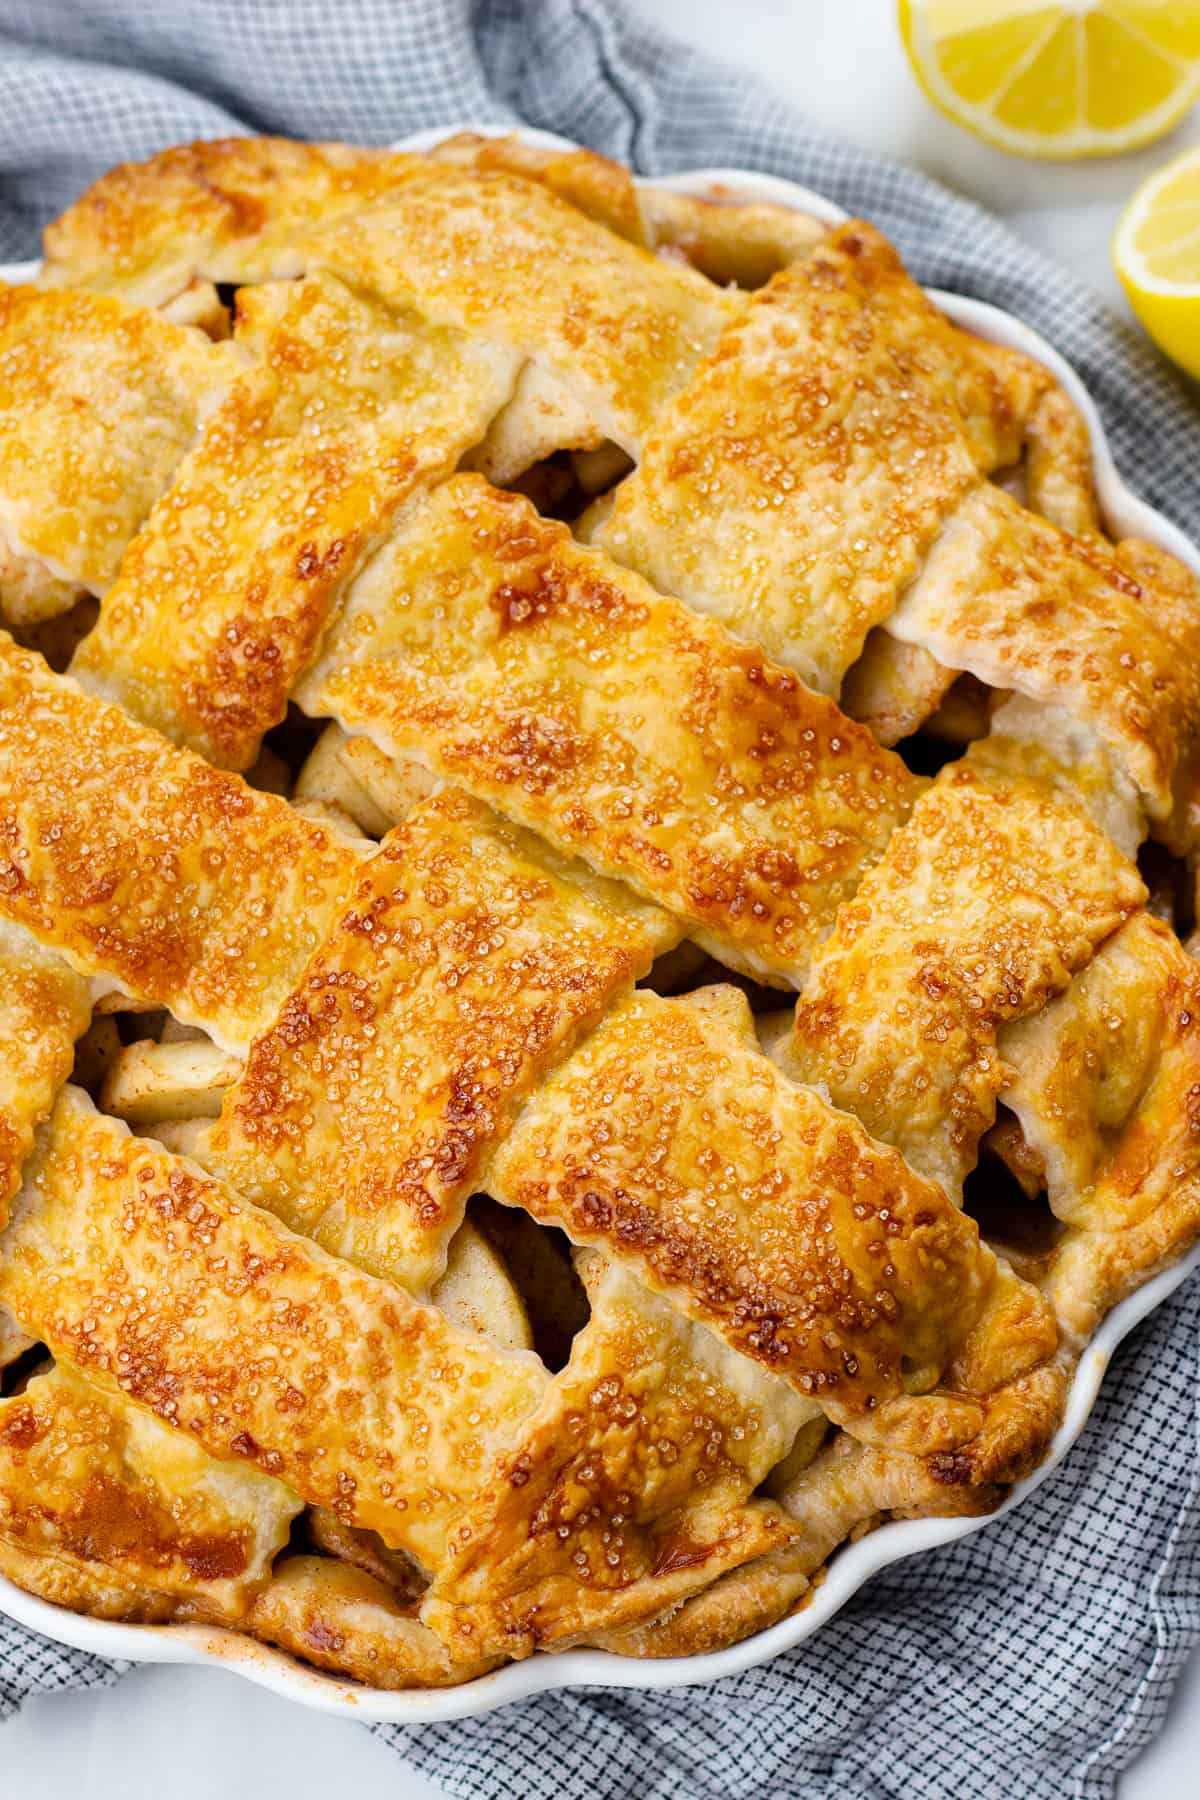
Now you can take the pie from the refrigerator and build the lattice. Lay out 5-6 strips of pie dough parallel on top of the pie filling, leaving about ½-inch in between. Fold back every other strip and place another strip perpendicular to the original strips. Continue until done. (Photo21)
When done, trim the excess edges of the strips, so they match the diameter of the base dough.
Using your hands, fold the hanging edges from the bottom up and crimp evenly to secure.
Brush the top with an egg wash and sprinkle with remaining granulated sugar. Refrigerate for another 10 minutes. (Photo 22)
While the pie is in the refrigerator, preheat the oven to 425°F.
Bake the pie at 425°F for about 25 minutes until the top and the edges become light golden/brown color. Then lower the temperature to 375°F and continue baking for another 30-35 minutes until the lattice is deep golden/brown color and the apple filling is bubbling.
Take it out of the oven and let it cool off for 3-4 hours before serving.
Tips for best results
- The key to the best pie is a good crust. Please check my Homemade Pie Crust Recipe for more details to get the best results.
- Always keep the dough cold, so after it bakes it will have nice flaky layers.
- Don’t chop apples too small. Otherwise they will get over baked and become mushy. You want to have nice pieces of apple in the pie.
- When baking, turn the pie a couple of times to make sure that all the sides have an even color.
- If the top crust is getting too dark, cover it with a pie shield or a piece of aluminum foil.
Frequently Asked Questions:
I usually use Granny Smith variety for two reasons. First, they hold their shape better and don’t get too mushy. Second, they provide a good balance of sweet and tart flavors.
My other choices will be: Golden Delicious, Honeycrisp, or Pink Lady.
No, if you cook them before baking, they will fall apart and become too mushy while baking.
A good sign to know if your pie is done is when you see that the filling is bubbling.
If you have any left overs, wrap it in the plastic wrap and refrigerate. It should stay fresh for 3-4 days.
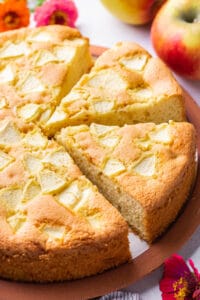
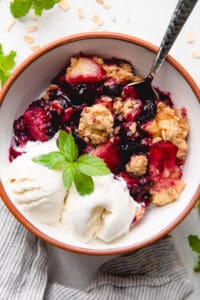
And if you liked this recipe, you will definitely appreciate my Apple Pie with Puff Pastry, Apple Sponge Cake, Apple Coffee Cake, Old Fashioned Peach Cobbler, Old Fashioned Apple Crisp, Apple and Blueberry Crumble, and Italian Tiramisu Recipe.
Did you make this recipe?!? I’d love to know how it turned out! leave a comment and a rating below👇 thank you!
Classic Apple Pie Recipe
Ingredients
Ingredients for Pie Crust Dough:
- 2 ½ cups all-purpose flour
- 2 tablespoons granulated sugar
- 1 teaspoon salt
- ½ cup vegetable shortening cubed and cold
- 12 tablespoons unsalted butter cubed and cold
- 4-8 tablespoons water iced
Ingredients for Apple Pie Filling:
- 7 Granny Smith apples peeled, cored, and sliced
- 2 tablespoons all-purpose flour
- ½ cup granulated sugar
- 1 lemon zest and juice
- 1 teaspoon ground cinnamon
- ¼ teaspoon ground allspice
- ¼ teaspoon ground nutmeg
- ¼ teaspoon salt
- 1 egg for egg wash
- 2 tablespoons granulated suagr for topping
- Ice Cream for serving
Instructions
How to make the Dough:
- Put all-purpose flour, granulated sugar, and salt in a food processor and quickly pulse it.
- Add cold and cubed vegetable shortening and pulse again until combined. It will look grainy.
- Then add cold and cubed unsalted butter and pulse again until you get coarse crumbs.
- Transfer the butter/flour mixture to a large mixing bowl and add 4 tablespoons of cold water and mix it all with a spatula. Gradually add more water until the right consistency.
- Slightly knead the dough into a ball, divide into two equal parts, wrap into plastic wrap, and refrigerate for at least 1-2 hours or overnight.
How to make Filling.
- Peel and dices the apples and put them in a large mixing bowl.
- Add flour, granulated sugar, lemon zest and juice, ground cinnamon, allspice, nutmeg, and salt. Stir until well combined and set aside.
How to assemble Apple Pie.
- Take one half of the dough from the refrigerator about 5-10 minutes before you are ready to work with it and let it sit on the counter.
- Flour the counter surface as well as the rolling pin.
- Flour the dough as well and, using your hands shape it in a disc form. Roll the dough in a circle about ¼-inch thick. Transfer the rolled dough into a baking pan and gently press around to make sure it perfectly fits into the pan. Make sure you don’t stretch the dough!
- When done, trim the excess edges, leaving about 1 inch hanging over the pan.
- Refrigerate it for about 10 minutes before filling with the apple filling.
- After you refrigerate for 10 minutes, fill the dough-lined pie pan with the apple filling, evenly spread it, creating a small mountain in the middle.
- Refrigerate while working on the lattice.
- Take the second part of the dough and roll it out the same you did it with the first part.
- Using a pizza cutter or a regular knife, cut strips about 2-inches wide.
- Take the pie from the refrigerator and build the lattice. Lay out 5-6 strips of pie dough parallel on top of the pie filling, leaving about ½-inch in between. Fold back every other strip and place another strip perpendicular to the original strips. Continue until done.
- When done, trim the excess edges of the strips, so they match the diameter of the base dough.
- Using your hands, fold the hanging edges from the bottom up and crimp evenly to secure.
- Brush the top with an egg wash and sprinkle with remaining granulated sugar. Refrigerate for another 10 minutes.
- While the pie is in the refrigerator, preheat the oven to 425°F.
- Bake the pie at 425°F for about 25 minutes until the top and the edges become light golden/brown color. Then lower the temperature to 375°F and continue baking for another 30-35 minutes until the lattice is deep golden/brown color and the apple filling is bubbling.
- Take it out of the oven and let it cool off for 3-4 hours before serving.
- Serve with a scoop of French Vanilla Ice Cream.
Video
Notes
- The key to the best pie is a good crust. Please check my Homemade Pie Crust Recipe for more details to get the best results.
- Always keep the dough cold, so after it bakes it will have nice flaky layers.
- Don’t chop apples too small. Otherwise they will get over baked and become mushy. You want to have nice pieces of apple in this dessert.
- When baking, turn the pie a couple of times to make sure that all the sides have an even color.
- If the top crust is getting too dark, cover it with a pie shield or a piece of aluminum foil.




it was delicious, and i would have given it a five, but for a problem with the crust. it was VERY DIFFICULT to cut through the bottom crust. the. top was flaky and wonderful. i dod not hae a food processor, so i froze the butter and shortening and grated it into the flour. perhaps that was the problem, but it seems to me that small flakes shouldn’t be that different from small chunks.
i added cranberries, and it helped. balance the sweetness of the apple filling.
very nice recipe however the prep took me about an hour from the time i started peeling the apples lol
turned out very lovely thanks
Thank you, Reena! I’m glad you liked this Apple Pie! I guess the prepping time is different for people.
A good, classic apple pie is ALWAYS a good idea! Your pie looks gorgeous and it sounds like it tastes even more amazing! It looks like perfection on a plate. 😀
Oh my… how I love a good pie. And this one looks beyond words amazing. I love the crust and filling looks super flavorful and delicious. I can’t wait to make this. Love it.
Nothing beats the classics! I love how much apple is packed in this! AND never to early to start planning out the Thanksgiving menu!
Long ago I used to go apple picking every September/October, in southern New York. We’d wait until leaves started to turn, so we could enjoy them on the drive, and go on a crisp Fall day. At the farm, we’d eat cider and donuts, and then I”d bake apple pie regularly for at least a month… And now – I don’t know when I last baked an apple pie. Obviously I need to remedy that!
There is nothing better than a big slice of apple pie! This looks really delicious.
There is nothing more delicious in fall than homemade apple pie and ice cream. This recipe looks lovely. I am going to make it and surprise my family with this dessert.
This pie looks so gorgeous. Love that golden crust. Can’t wait to try apple pie this season. Lovely pics.
Apple pie screams fall to me.
Also, when I figured out making the dough in a food processor, it was life changing. That is the only way I make it now 😉
This was such a great, really helpful post – not just lovely photos (including step-by-step photos to make sure we get it right!), but also really good little tips along the way – like how it’s easier to use a food processor for the dough but sooooo important to keep that dough super-cold as you work. And really … what screams FALL more than apple pie?!? 😀
It’s sooo apple pie season now! I always have a hard time being patient with chilling my crust dough overnight, so I like seeing that you can do it for less time as well. I love how gorgeously golden brown it got on top! Beautiful pie 🙂
You can never beat a well-made apple pie with a big scoop of ice-cream. Nicely done!
The classic apple pie never goes out of style. Always a welcome dessert any time of year, but especially great during apple season. Love the crust on this pie…so pretty.
You can’t beat a classic like apple pie! The crust on this one looks perfect and so golden and I love how much filling is in there. So yummy with a scoop or two of ice-cream 🙂